Client Receipt Overview
Client Receipt is contained within Sapphire Web Pack Data Entry and are typically emailed to the Clients automatically. These receipts are generated once funds have been electronically EFT into your bank accounts, and the bank account reconciliation process will generate the requirement to create the Client Receipt. Alternatively, your client may have notified you by email of a remittance, and from the remittance you can generate the Sapphire Client Receipt (CR) and use the Document Management System (DMS) to attach the remittance to the Client Receipt within Sapphire Web Pack.
Once the Client Receipt within Sapphire Web Pack has been saved and it will automatically appear in our bank reconciliation screen for reconciling within your bank reconciliation. The ability to email the Client Receipt is fully automated, and by selecting the Print icon drop-down, you’ll be able to email an electronic copy of the Client Receipt to your Client, putting the Amount, Message or Paid by the Client and the Invoice or Invoice numbers that it has been allocated.
There is no set layout for a Client Receipt. As a user, you can generate the predefined Client Receipt. Alternatively, the SapphireOne user can go to Sapphire custom report and create their own receipt that complies with their corporate identity and that it is able to be emailed or receipted to your Client.
SapphireOne also allows the user to store and track Client Receipts to record customer purchase history. All receipts will be allocated and the allocation history is retained for the life of the data file providing a historical record of payment terms for your client. These receipts can also help your corporate identity, when emailed they will contain your corporate messaging. This in turn will flow through to your Business Intelligence Dashboards within SapphireOne.
It should be noted that from the Inquiry Menu in the Sapphire Web Pack there is a function named a Client Inquiry. When it is open on screen, there is a group of icons with the Receipt icon within the group. This allows the user to create a Client Receipt directly from the Client Inquiry function when it is open on screen.
Dictation and Speech to Text Overview
SapphireOne’s Dictation (MacOS) and Speech to Text (Windows) functionalities revolutionise data entry. These features are available for any data entry field and all inquiry screens within SapphireOne. For instance, when a user makes a call via the SapphireOne Softphone, SapphireOne automatically timestamps the contact and phone number. Post-call, users can dictate notes directly into the CRM contact memo field in relation to the stamp.
This functionality is applicable across all Data Entry screens. As examples, when entering a Vendor Invoice (VI), users can dictate memos directly. Similarly, additional lines can be added to the General Ledger account, with each line having a unique memo field. After an employee interview, users can efficiently dictate notes.
Speech to Text and Dictation are powerful tools that SapphireOne and its clients use daily, significantly saving time.
Client Receipt Navigation

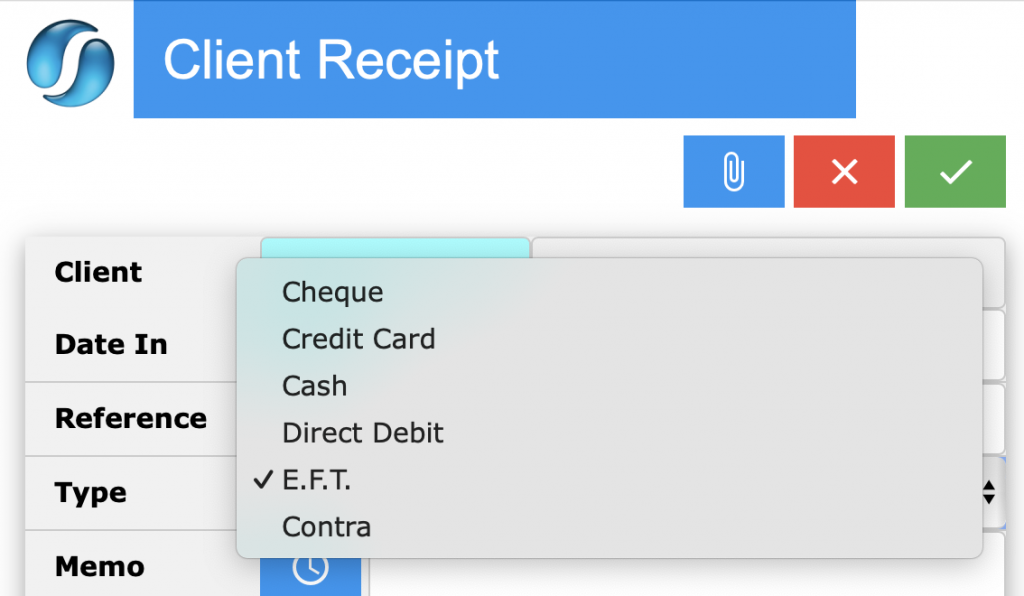
Client Receipt – Select the New Receipt icon to create a Client Receipt on Sapphire Web Pack. Sapphire Web Pack will display a screen ready to receive the required details for the receipt as seen below titled Payment Details. You are presented with five options – Cheque, Credit Card, Cash, Direct Debit, E.F.T., Contra. Each one of the six, once selected will present additional data entry fields that are required for the use of the selected payment option.
Client ID – When the Client Receipt button is selected here Sapphire Web Pack will display the Choose Client screen as seen below. It will display a list of Clients for the user to Choose from. A wild card search is allowed using the @ symbol to replace characters in the Client ID.

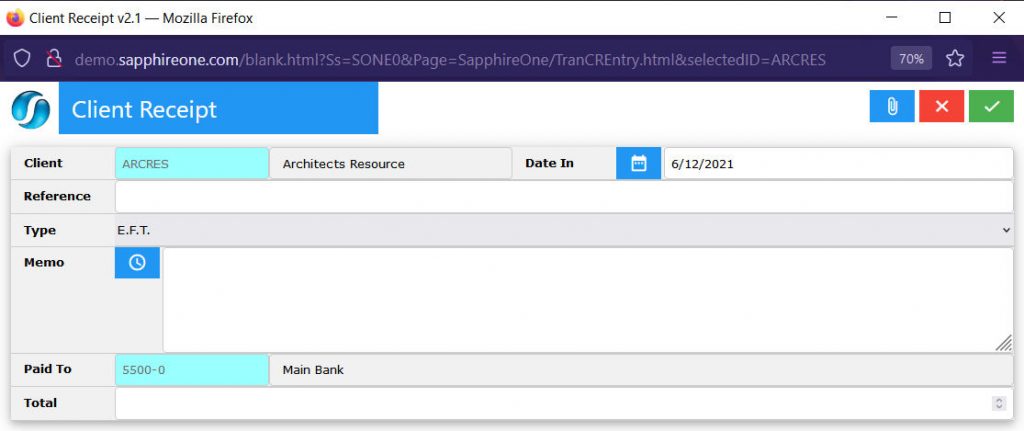
Once the Client has been selected the user is presented with the Client Receipt ready for data entry as seen below.
The following details must be entered into the Client’s Master record, so that Sapphire Web Pack will pre-fill the data into the receipt to minimise data entry and errors by the user.
Document

- Document – This is the first icon to right of the History Order. When the Document icon is selected an alert will be displayed allowing the user to view existing documents attached to the client record.
- Upload – To upload the selected document the Sapphire Web Pack user must then select the Upload button to complete the task.

Cancel / Save – Once the total is entered select the ![]() Green Tick button to complete processing the receipt. The Client Receipt will then be saved into the data file without any further alerts. To Cancel a Client Receipt, select the
Green Tick button to complete processing the receipt. The Client Receipt will then be saved into the data file without any further alerts. To Cancel a Client Receipt, select the ![]() Red Cross button to cancel the receipt.
Red Cross button to cancel the receipt.
Date – By selecting the Date Calendar icon you will be prompted to select the date of the Client Receipt.


Memo – By selecting the Memo Clock icon for Memo, it will automatically date and time stamp, and User ID in the memo. You can type your own memo or alternatively you can use voice to text with your microphone.
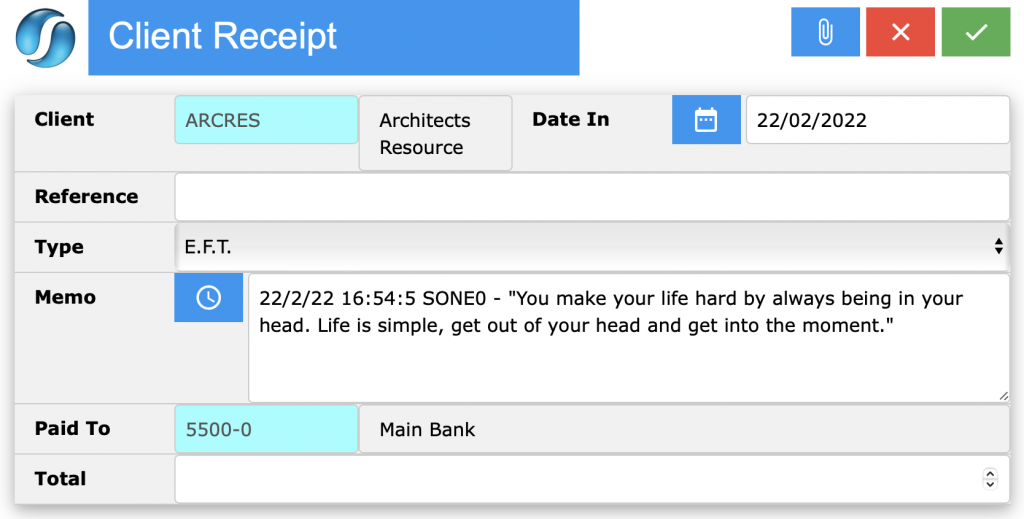
Paid To – Select the general ledger bank account ID.
Total – Total amount of the receipt.
You can review our Blog and YouTube channel for additional information and resources on SapphireOne ERP, CRM and Business Accounting software.