Inventory Transfers Overview
Inventory Transfers refers to the logistics process of moving inventory from one point in the distribution chain to another, improving the efficiency of inventory handling during high workloads. This type of transfer is also known as a stock or warehouse transfer, involving the physical movement of inventory items from one warehouse to another. Warehouse staff typically fulfil store requests by transferring inventory from the warehouse to the store. Another scenario is transferring inventory from a batch or bay to a picker.
The transfers screen within this implementation of Sapphire Custom Web Pack, provides remote access to the SapphireOne Transfer Journal. From this screen the user can manage warehouse inventory transfers. The SapphireOne Transfer Journal enables the transfer of stock between two inventory codes, such as when relocating inventory from one location to another. The Transfers screen is primarily used for transferring inventory without any other adjustments.
The standard usage of the Transfer functionality is as follows:
- Navigate to transfers through the navigation page:
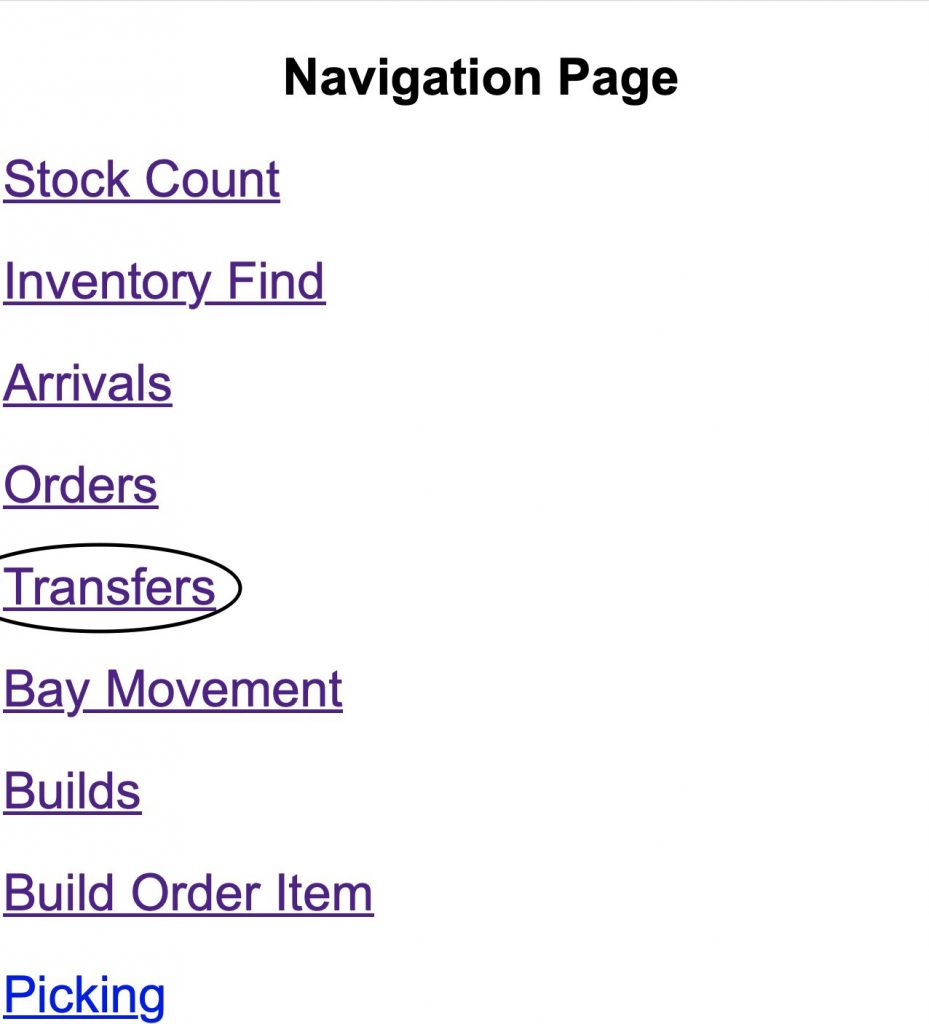
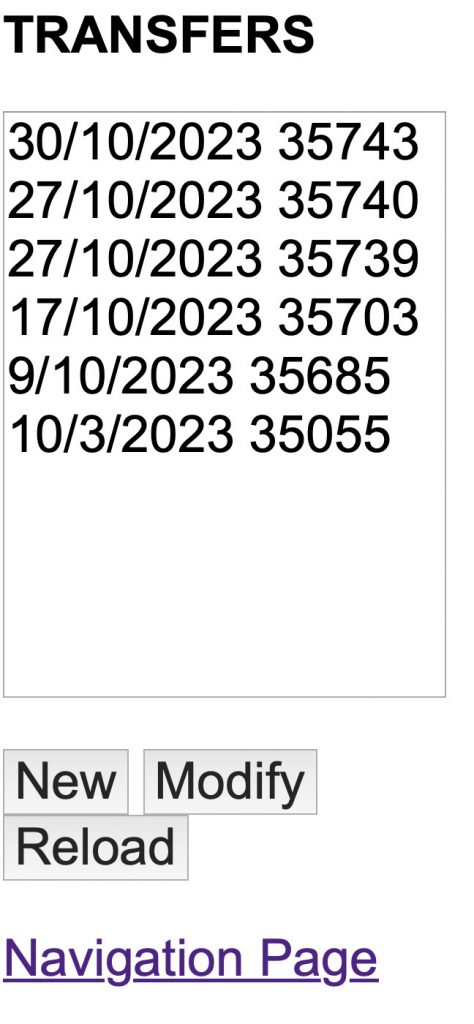
- After opening, the following table will display information about previous transfers, as well as the transfers table, the screen includes options for the following:
- Date – Date of transfer.
- Unique Internal Reference – Also known as Transfer Number. This number is generated when a new transfer is created.
- New – Creates a new transfer.
- Modify – Edit an existing transfer.
- Reload – Refresh the table for incoming or remove irrelevant transfers.
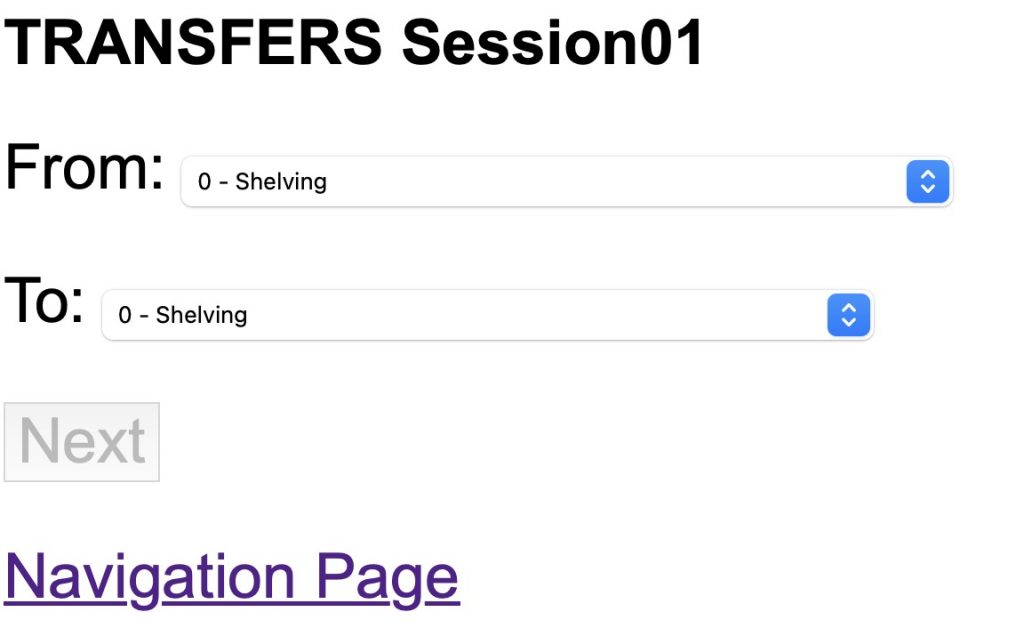
- When choosing “New,” the subsequent page will be displayed.You may provide the locations you want to transfer between and click “Next”.
- From – Current location of inventory.
- To – Designated location.
- Next – move on to the next step of the transfer process.
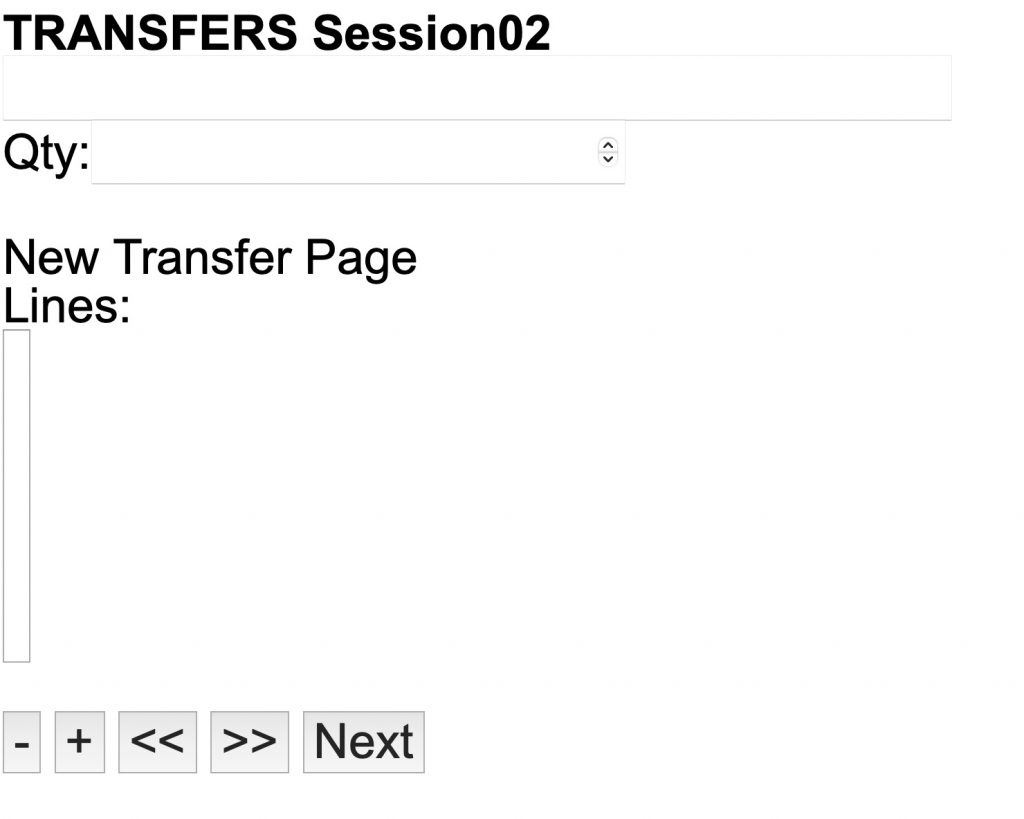
- Once you have entered the necessary quantity and any extra details, again select the “Next” button.
- Qty – Quantity of inventory to be transferred.
- “–” – Remove a transfer page.
- “+” – Add a new transfer page.
- “>>” – Navigate into the next page.
- “<<” – Navigate into the previous page.
- The confirmation page will appear. Select “Transfer”.
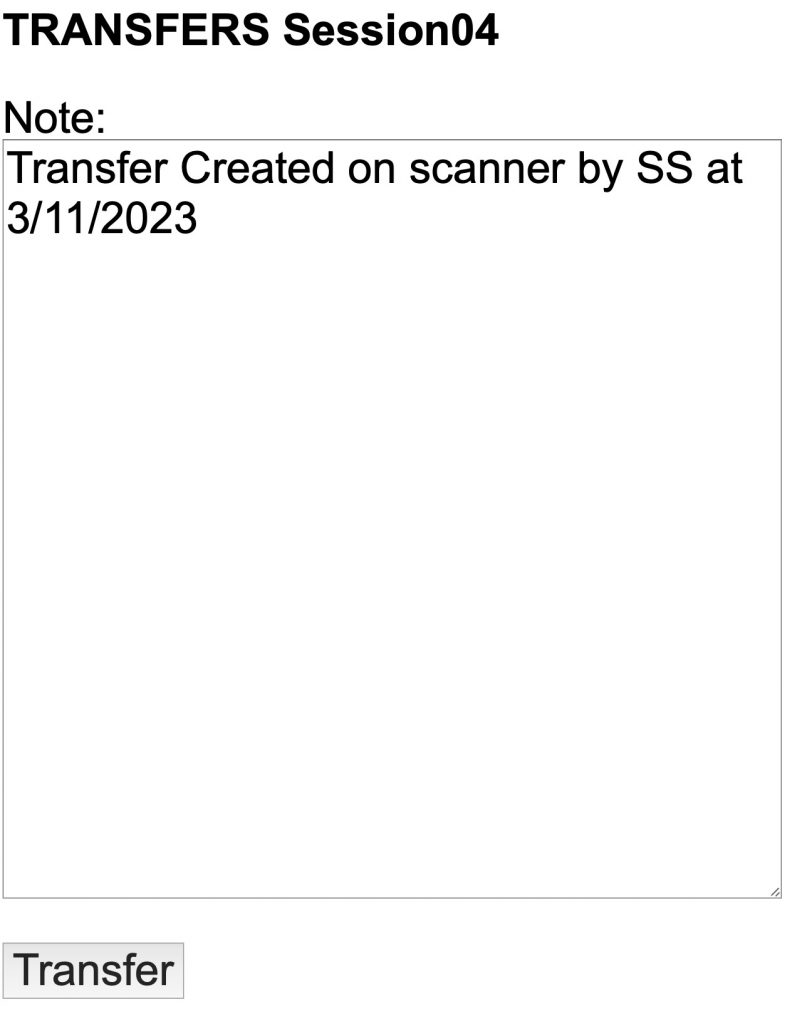
- After selecting “Transfer” you will be taken to the main Transfers page. Select”Reload” to view the newly added transfer in the table.
- Selecting “Modify” will redirect the user to the transfer page and they may add or remove transfer pages here.
- After selecting “Modify” , The following page will appear. You will be required to provide the locations you want to update the locations of the transfer between and click “Next”.
- From – Current location of inventory.
- To – Designated location.
- Next – move on to the next step of the transfer process.

After selecting “Next”, a table with the following data will appear:
- Qty – Quantity required for the transfer (In accordance to the highlighted Line at the bottom of the table)
- Desc – Description of item in the transfer. The description contains the following:
- General Description (Name and dimensions of the item).
- From which location is it being sent.
- How many pieces are available and in which bay.
- To which location it is being sent.
- How many items are available in total.
- Lines – Able to select different items in different location followed by quantity availability.
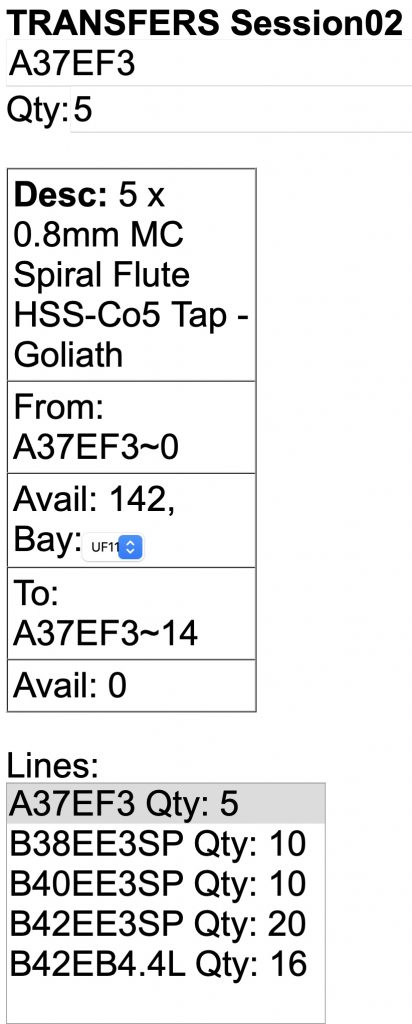
Finally – you will be able to confirm the transfer modification by simply clicking “Transfer”.
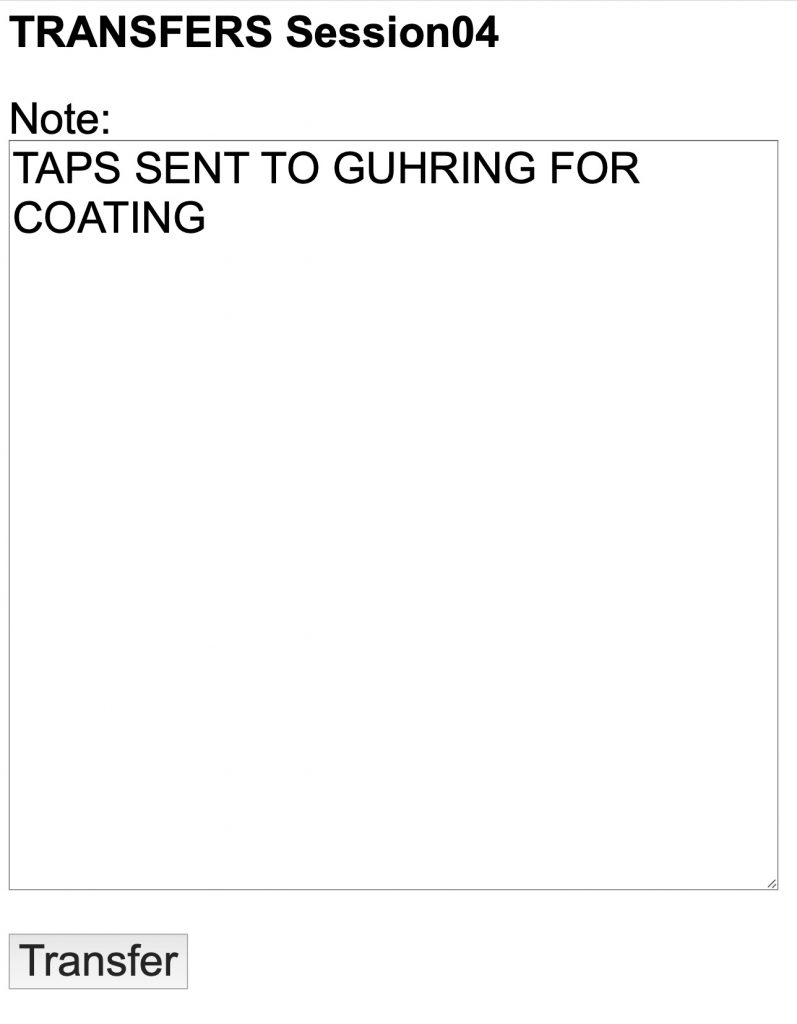
After Selecting “Transfer” you will be moved back to the main page and the table with the ongoing transfers will be updated.
You can review our Blog and YouTube channel for additional information and resources on SapphireOne ERP, CRM and Business Accounting software.